Well Happy Day Everyone!!
I wanted to cover a very simple, yet important topic in this episode. Shoe Restoration 101; Bringing your favorite leather shoes back to life!! Are you ready to check it out?
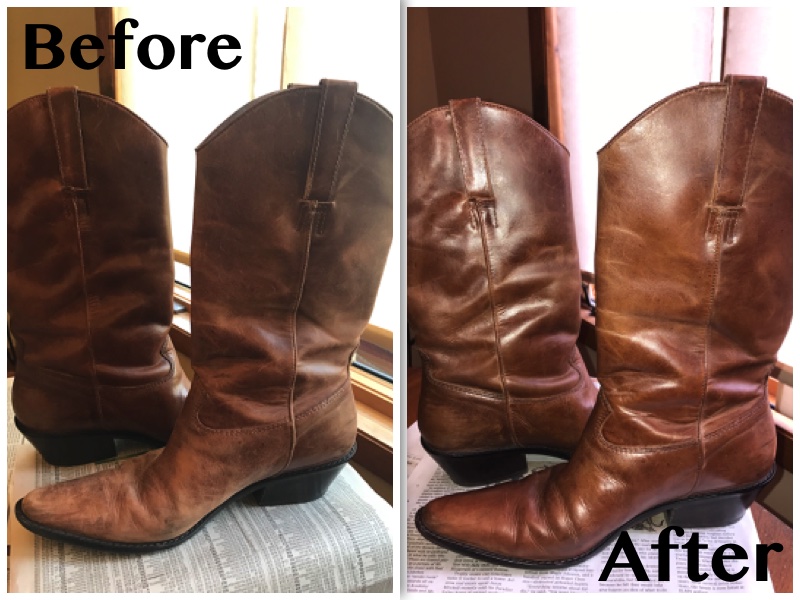
If you are anything like me, you find some of the most amazing shoes (boots, heels, wedges, sandals) and wear them to the verge of death. They kind of look like they have seen better days, but the sole is still in great shape and the support is up to par. What are your options?? Chuck them, donate them, let them sit in your closet collecting dust or possible pay a small fortune take them in to a shoe repair shop for freshening up??? NO!!! I will show you how to buff up those favorite shoes of yours, and make them look spectacular once again!!
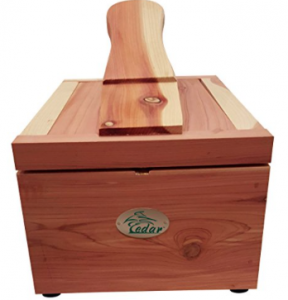
The first thing necessary is a shoe polishing kit. I have this super cute shoe kit my dad put together for me, many moons ago! The metal valet box is vintage, so they are hard to come by now. He has one just like it (only older) and I always “helped” him polish his shoes for work when I was a little kiddo, so one day, I got my very own. Sweet right?!?! Here is a link for a Shoe Shine Box that would also be perfect to house all your kit supplies.
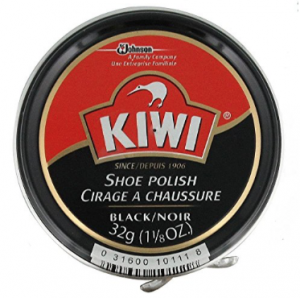
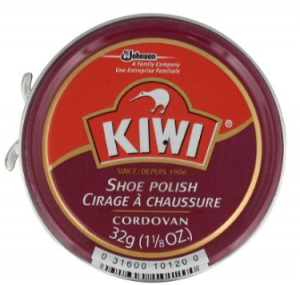
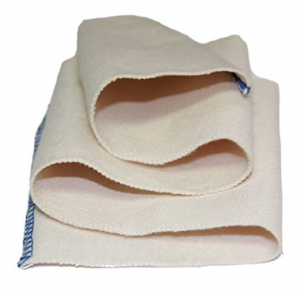
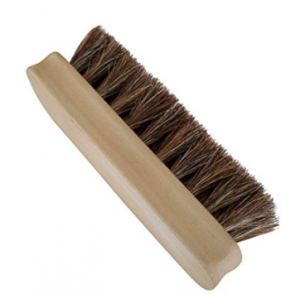
In the kit, you will need a variety of shoe polishes, a few different colors to meet the needs of the shoes you are polishing. I personally have Black, Brown, and Cordovan. These basic shoes polish colors fit the ticket for my shoe collection. An application cloth, buffing cloth (microfiber texture) and buffing brush are also necessary. You can see I have links included for the polishes, buffing cloth, and brush. But, I typically use an old wash cloth for application.

Now that you know what supplies are required, let’s talk about the polishing!
I would suggest you find a nice well lit area where you can place some newspapers down. You want to keep any shoe polish flecks on the paper, otherwise you will have a mess on your floor! Follow the simple steps listed and you will have beautiful, shiny kicks in no time!
- Set up your work space by setting out your shoe polish color needed, application cloth, buffing cloth and buffing brush.
- Place shoes on the newspaper (one at a time).
- Swipe application cloth in the shoe polish.
- Dab and rub polish covered cloth on shoes, applying more polish on the most distressed areas of the shoes. But, be sure to cover the entire leather surface area.
- Use the buffing brush over the shoe. The brush works to even out the applied polish and remove and flecks of polish that may have been left behind.
- Grab the buffing cloth, rub the surface until a nice shine is revealed.
- Repeat steps 1-6 for the next shoe.
Simple, right?? And think of the long term outcome, you get to wear and love your shoes for that much longer!!! And bonus for saving TONS of time and cash!! Whoo Hoo!!
I hope you enjoyed the info, because I loved bringing it to you!
Have an amazing day! Till next time.
Steph